Get your first AI agent running locally in 2 minutes.
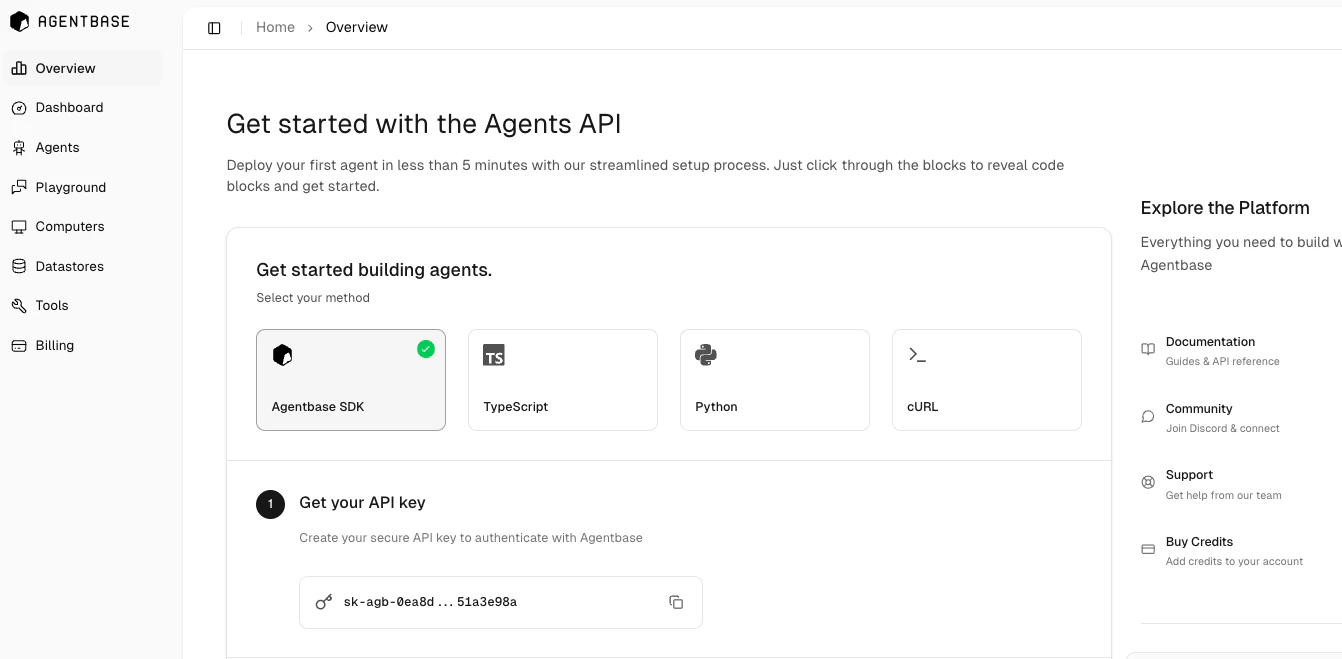
Start in the app: Visit the overview page for a guided quickstart that walks you through:
- Choose your SDK - TypeScript, Python, or cURL
- Get your API key - Secure authentication setup
- Copy the bootstrap command - One-click setup
- Select your agent mode - Flash, Base, or Max
- Configure add-ons - Optional integrations
The guided setup generates a ready-to-use code snippet you can paste directly into your IDE.
Before you begin
Sign up with your work email to get free credits automatically!
Step 1: Install and run
# Create your agent project
npm create agentbase@latest

# Select to create a Next.js agent chat app or a terminal chat app
📦 Select a template:
  1. agent-chat-nextjs (Next.js app)
  2. terminal-chat (Terminal agent chat)
✔ Choose template (1 or 2) (1):

# Navigate and start
cd my-agent
npm run dev
Step 2: Test capabilities
Try these prompts in the CLI to understand what agents can do:
> What can you do?
> Write and run a Python function to calculate fibonacci numbers
> Search for the latest AI news and summarize it
> Create a React component for a user profile card
Step 3: Understand agent modes
Change the mode in your index.ts file:
const params = {
  message: message,
  mode: "base", // "base", "flash", or "max"
};
- Flash: Shows agent thinking process and steps
- Base: Balanced performance (recommended)
- Max: Advanced reasoning for complex tasks
You can also test your agents in the Agentbase playground.
Need help?